How to Make a Quilted Zipper Pouch with the Gradient Heart Quilt Block
Share
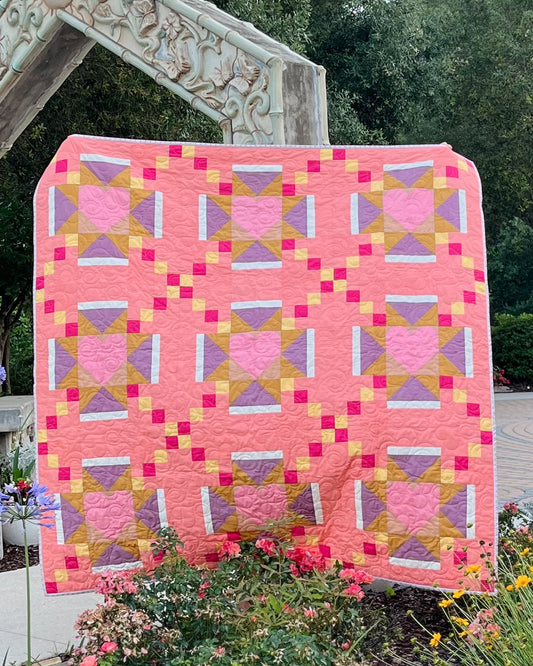
I love a good zipper pouch—they’re cute, practical, and the perfect way to showcase a favorite quilt block! Today, we’re turning the Gradient Heart quilt block into a quilted zipper pouch. Whether you’re looking for a fun weekend project or a handmade gift, this little pouch is a must-make!
Click HERE to download the FREE Gradient Heart Quilt Block and get started!

Supplies Needed:
- (1) Gradient Heart quilt block (10" x 10" unfinished)
- (1) 10" x 10" fabric square for the back (or another quilt block!)
- (2) 10" x 10" pieces of batting
- (2) 10" x 10" lining fabric squares
- (1) 10" or longer zipper
- Coordinating thread
- Basic sewing supplies (rotary cutter, ruler, clips, etc.)

Step 1: Quilting the Front & Back Panels
First, layer your Gradient Heart block with a piece of batting and quilt as desired! I love simple straight-line quilting, but you can have fun with free-motion or even hand quilting for a little extra texture. Repeat for the back panel.

Step 2: Preparing the Zipper
Place the zipper face down along the top edge of the back panel, aligning the edges.


Step 3: Finishing the Pouch
Press the fabric away from the zipper and topstitch for a polished look. Next, open the zipper halfway (trust me, you don’t want to forget this step!). With right sides together, pin or clip the outer panels together and the lining pieces together. Sew all the way around, leaving a 3" opening in the lining for turning.

Step 4: Turning & Final Touches
Trim the corners, turn the pouch right side out through the opening, and push out the corners.

Stitch the lining opening closed, tuck it inside, and give everything a nice press.

That’s it! You now have a beautifully quilted zipper pouch featuring your Gradient Heart block. Perfect for holding sewing notions, makeup, or even as a thoughtful handmade gift. If you make one, be sure to tag me on Instagram—I’d love to see it!


